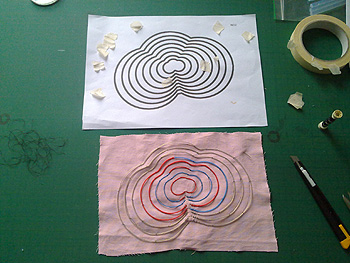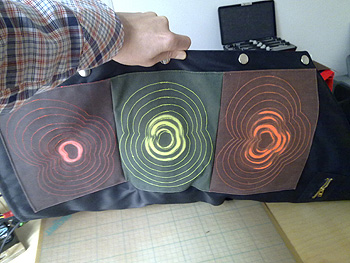
The last couple of weeks I’ve been continuously working on the wiring of the displays. The first challenge was to prevent the naked wires touching the conductive fabric underneath. In the morning I had another brain wave: I should isolate the wires instead of the fabric. After talking to the salesman in my favourite electronics shop I went home happy because he showed me some nice silicon tubing and cables that I could use. The cable (with its contents removed) was still rather thick. I couldn’t iron it onto the displays. So I went for finer tubing which I could buy from my shop in a nice set with different sizes inside. This wasn’t enough by far so I ordered another five meter online which was only just enough…
I figured out the different amounts of resistance needed for the different ring diameters. The smallest rings now use very thin wire that has a resistance of 44 Ohm per meter. Rings 2 are a resistance of 10 Ohm. Rings 3, 4, 5 and 6 use the 6,9 Ohm wires that I started out with. The two biggest rings are 2,5 Ohm. This way I can keep the heating times together and not make them too long.

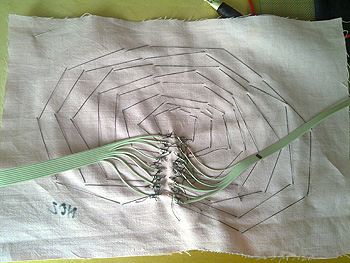
First I shaped the wires onto a paper template to determine the lengths needed. Then I isolated them and uncoated the end parts of the ones that had a lacquer coating. Then I embroidered the isolated wires onto ordinary fabric making sure that the connection parts were sticking out at the back. Connecting the resistive wire to the common wire using the terminal tubes was not as easy as I expected. It took quite a lot of squeezing and re-squeezing. I secured the connection parts with yarn to make sure they can take a certain amount of pulling. The whole strip of cables I secured with glue from a glue pistol.
The final bottle neck was the code. I’d been struggling with that for weeks. Mainly because the internal workings of the shift register remained unclear to me. I kept thinking that I needed to shift all the positions to get the outmost ring to light up, working with endless loop variations. I finally asked help from Marius again. He is a real hard- and software wizard. First he corrected my code by mail to make the outmost ring light up. It appeared I didn’t need a loop at all. He just pulled the byte values from the array…
As there were also some hardware problems he was kind enough to come over. He rewrote my software (that took me weeks) in 15 minutes! The code is now completely dynamic (and highly compact) using one big loop for all three displays.
We did some measuring and it appeared that the displays, when heating four or more rings on all three displays, use 10 Ampere which the batteries can’t really deliver. They should but they don’t. Which causes the voltage to drop. So I’m considering using a battery from an electric hand tool, a drill for example.
But for now I’m very happy with what I’ve got. It works and the concept is clear. I’m ready for the photo and video shoot upcoming weekend.
